Shift cable — adjustment and replacement
Adjustment
1. When the shift lever inside the vehicle is moved from the Neutral position to other positions, it should move smoothly and accurately to each position and the shift indicator should indicate the correct gear position. If the indicator isn’t aligned with the correct position, adjust the shift cable as follows:
2. Remove the battery and battery tray (see Engine electrical systems).
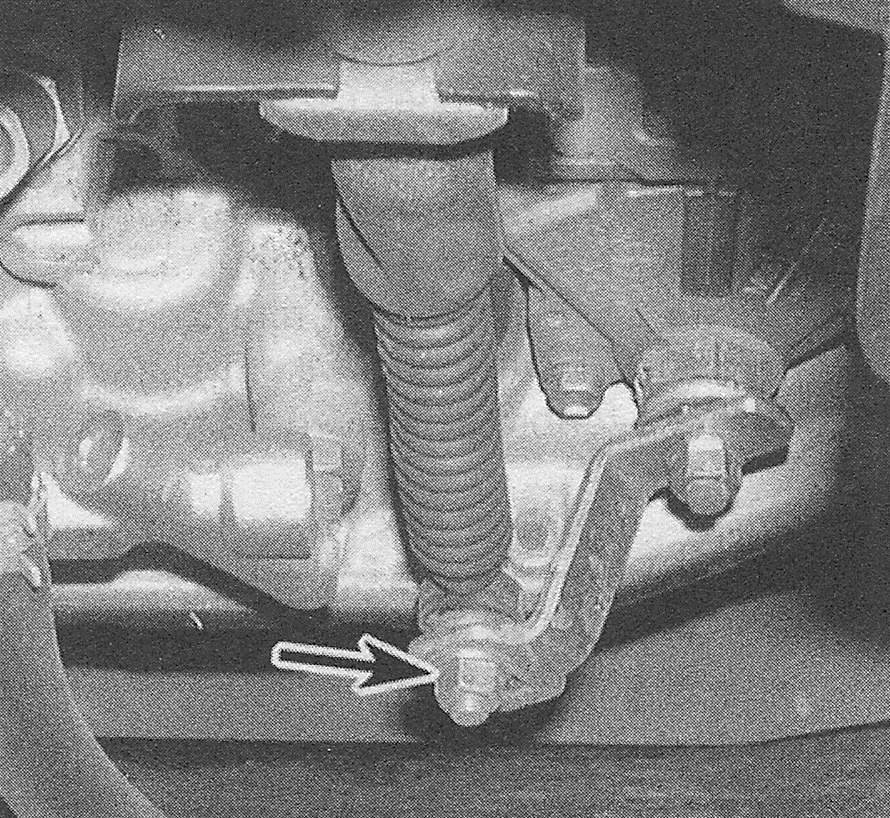
3. Remove the nut that attaches the shift cable to the manual lever on the transaxle (see accom panying illustration and illustration 3.6).
3.3 Remove the nut that connects the shift cable to the manual lever on the transaxle (2009 and earlier four-cylinder model shown)
4. Move the shift lever inside the vehicle to the Neutral position.
5. Ensure the manual lever on the transaxle is in Neutral.
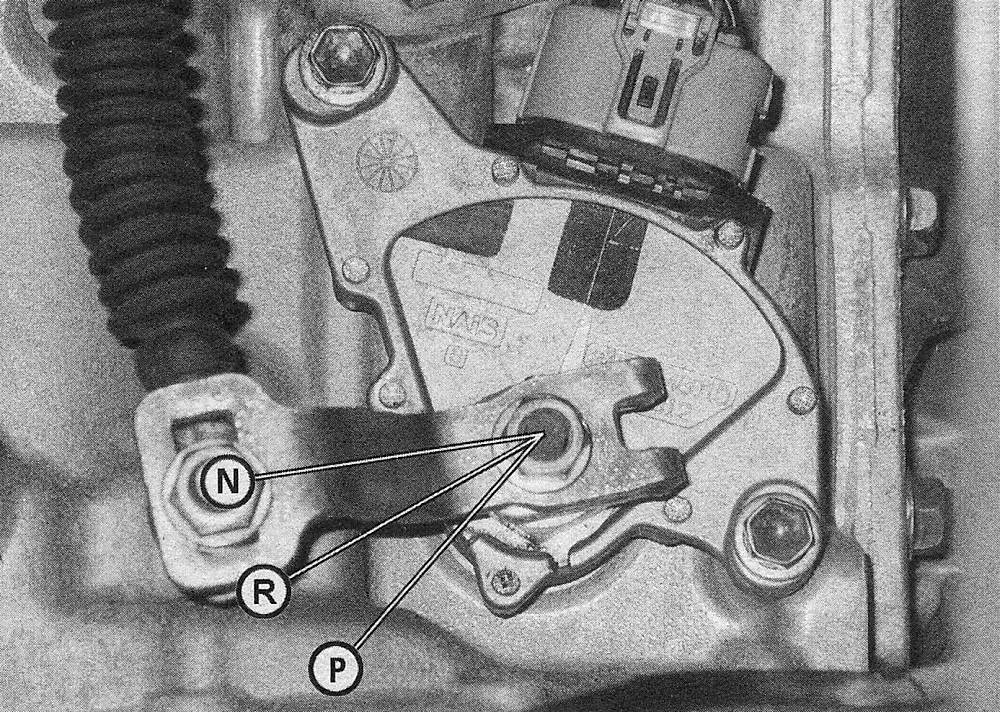
- ) On 2009 and earlier four-cylinder models, move the manual lever into Park, then return it two clicks into the Neutral position (see illustration).
- ) On V6 models and 2010 and later four-cylinder models, Neutral can be found in a similar manner, but can also be verified by removing the manual lever from the shaft and confirming that the projections on the switch body and the switch hub are in alignment (see illustration 4.19).
3.5 The Neutral position can be confirmed by placing the manual lever into Park, then returning it two clicks in the other direction
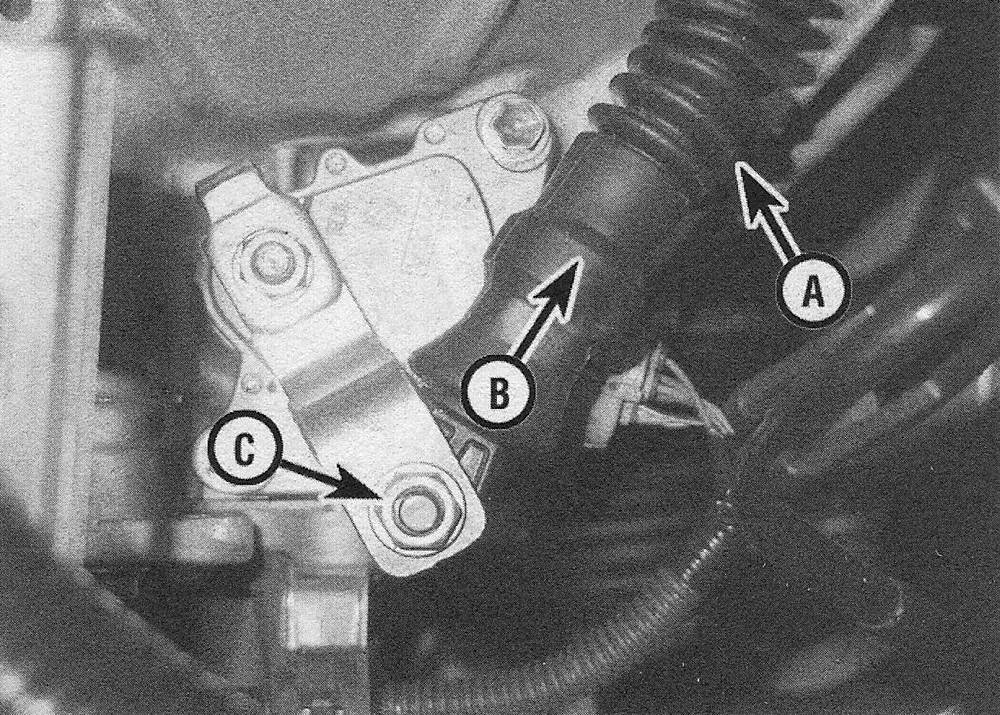
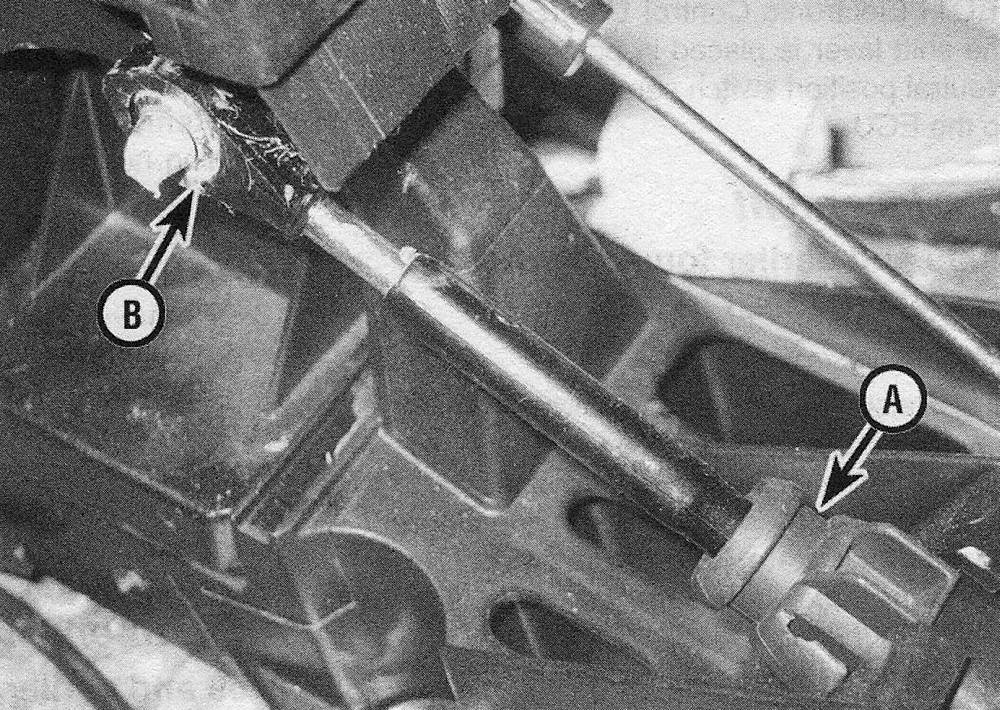
6. Carefully slide the boot back (see illustration) from the end of the cable.
3.6 On V6 models and 2010 and later four-cylinder models, slide the boot (A) back from the end of the cable (B) to expose the adjusting slider. (C) is the cable-to-manual lever nut
7. Move the slider towards the end of the cable and lift the lock upwards.
8. Install the cable to the manual lever, tighten the nut securely and push the lock down, locking the slider piece into the new position.
9. Check the operation of the transaxle in each shift lever position (try to start the engine in each gear — the starter should operate in the Park and Neutral positions only). If the starter doesn’t operate or it is hard to shift, readjust the cable.
10. Slid the boot cover back over the adjuster assembly.
Replacement
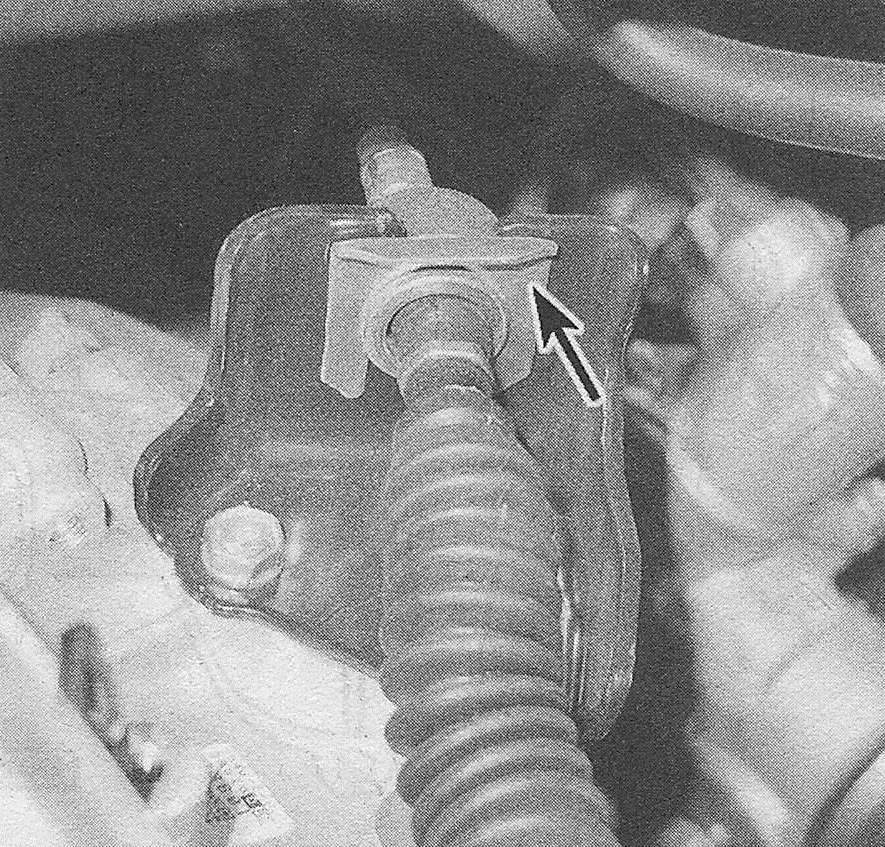
11. Disconnect the cable from the manual lever (see illustration 3.3 and 3.6) and remove the large C-clip cable retainer (see illustration) from the bracket above the manual lever.
3.11 To disconnect the shift cable from the transaxle, remove the large C-clip retainer from the bracket on the top of the transaxle
12. Remove the center console (see Body).
13. Pull the carpet flap back and remove the bolts from the cable housing retainer on the floor inside the vehicle (see illustration).
3.13 To detach the cable boot seal from the floor under the heat/AC housing, remove the mounting bolts
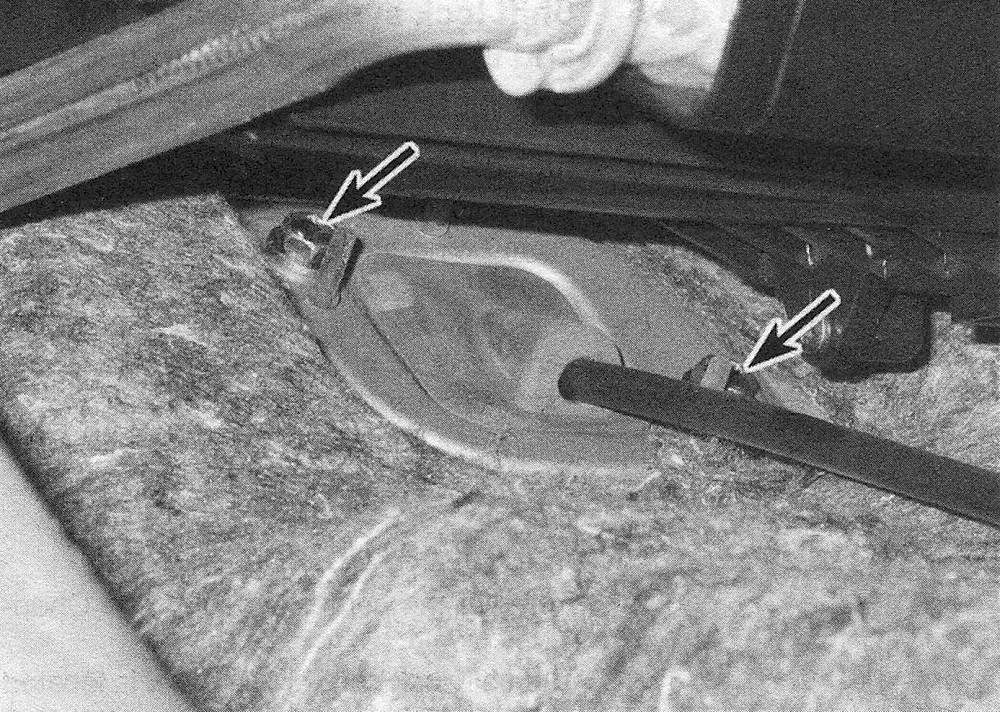
14. Pry off the cable end from the shift housing (see illustration).
3.14 To detach the shift cable from the shift lever base, twist the flange (A) to release its clips, then pry the cable eye (B) from the shifter pin (early model shown)
15. Disconnect the cable eye from the shift lever pin.
16. Pull the cable through the floor.
17. Installation is the reverse of removal.
18. Adjust the cable (see Steps 1 through 10).