Rear window defogger — check and repair
1. The rear window defogger consists of a number of horizontal elements baked onto the glass surface.
2. Small breaks in the element can be repaired without removing the rear window.
Check
3. Turn the ignition switch and defogger system switches to the ON position. Using a voltmeter, place the positive probe against the defogger grid positive terminal and the negative probe against the ground terminal. If battery voltage is not indicated, check the fuse, defogger switch and related wiring. If voltage is indicated, but all or part of the defogger doesn’t heat, proceed with the following tests.
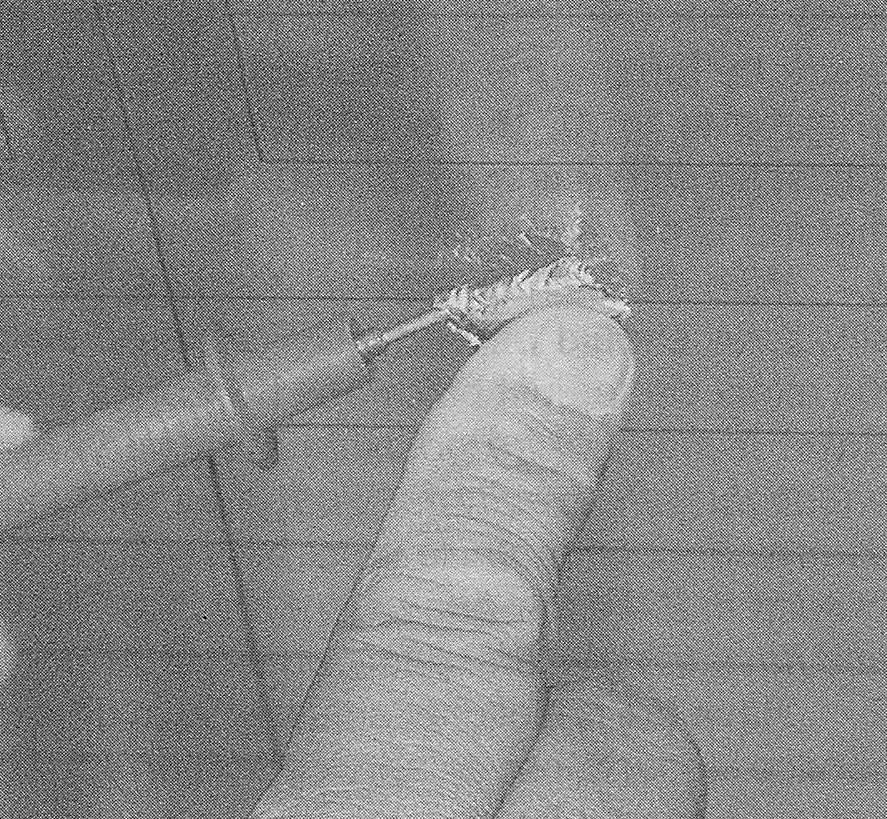
4. When measuring voltage during the next two tests, wrap a piece of aluminum foil around the tip of the voltmeter positive probe and press the foil against the heating element with your finger (see illustration). Place the negative probe on the defogger grid ground terminal.
15.4 When measuring the voltage at the rear window defogger grid, wrap a piece of aluminum foil around the positive probe of the voltmeter and press the foil against the wire with your finger
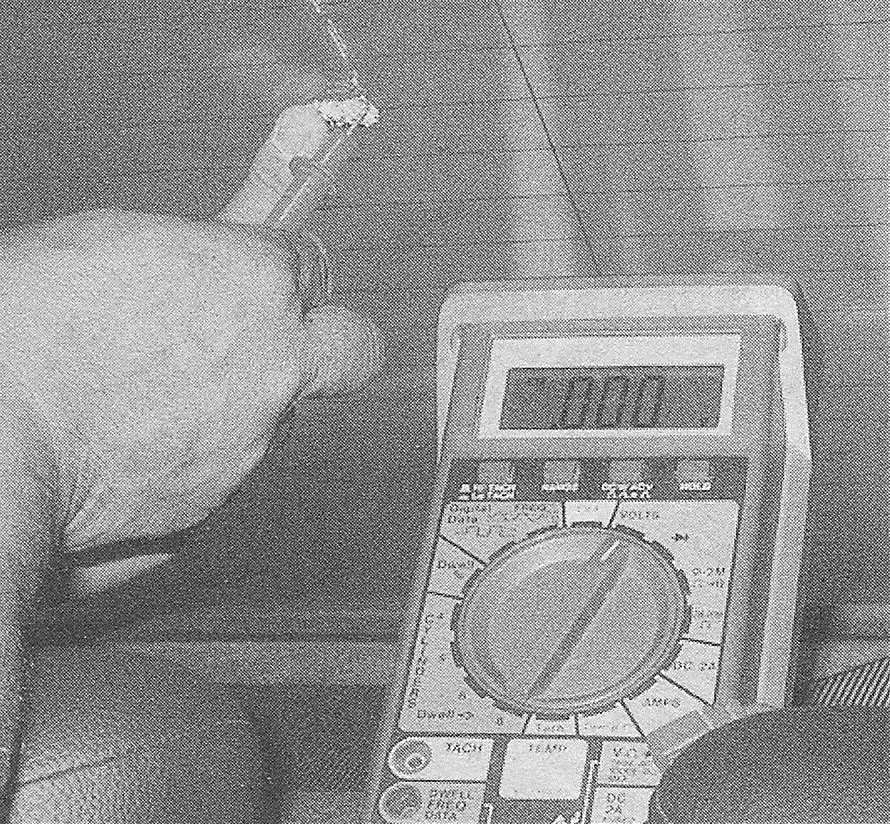
5. Check the voltage at the center of each heating element (see illustration). If the voltage is 5 or 6-volts, the element is okay (there is no break). If the voltage is 0-volts, the element is broken between the center of the element and the positive end. If the voltage is 10 to 12-volts the element is broken between the center of the element and ground. Check each heating element.
15.5 To determine if a heating element has broken, check the voltage at the center of each element — if the voltage is 5 or 6-volts, the element is unbroken; if the voltage is 10 or 12-volts, the element is broken between the center and the ground side ; if there is no voltage, the element is broken between the center and the positive side

6. Connect the negative lead to a good body ground. The reading should stay the same. If it doesn’t, the ground connection is bad.
7. To find the break, place the voltmeter negative probe against the defogger ground terminal. Place the voltmeter positive probe with the foil strip against the heating element at the positive terminal end and slide it toward the negative terminal end. The point at which the voltmeter deflects from several volts to zero is the point at which the heating element is broken (see illustration).
15.7 To find the break, place the voltmeter negative lead against the defogger ground terminal , place the voltmeter positive lead with the foil strip against the heating element at the positive terminal end and slide it toward the negative terminal end — the point at which the voltmeter reading changes abruptly is the point at which the element is broken
Repair
8. Repair the break in the element using a repair kit specifically recommended for this purpose, available at most auto parts stores. Included in this kit is plastic conductive epoxy.
9. Prior to repairing a break, turn off the system and allow it to cool off for a few minutes.
10. Lightly buff the element area with fine steel wool, then clean it thoroughly with rubbing alcohol.
11. Use masking tape to mask off the area being repaired.
12. Thoroughly mix the epoxy, following the instructions provided with the repair kit.
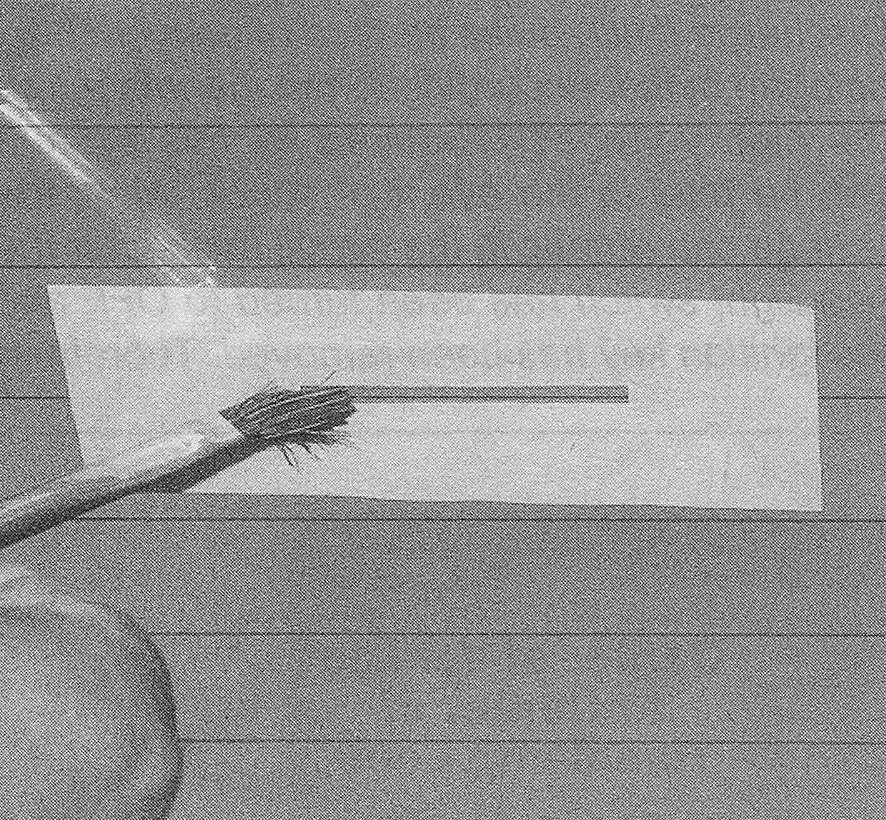
13. Apply the epoxy material to the slit in the masking tape, overlapping the undamaged area about 3/4-inch on either end (see illustration).
15.13 To use a defogger repair kit, apply masking tape to the inside of the window at the damaged area, then brush on the special conductive coating
14. Allow the repair to cure for 24 hours before removing the tape and using the system.