Heater core — removal and installation
Warning: The models covered by this manual are equipped with Supplemental Restraint Systems (SRS), more commonly known as airbags. Always disarm the airbag system before working in the vicinity of any airbag system components to avoid the possibility of accidental deployment of the airbag, which could cause personal injury (see Chassis electrical system).
Warning: Do not allow antifreeze to come in contact with your skin or painted surfaces of the vehicle. Rinse off spills immediately with plenty of water. Antifreeze is highly toxic if ingested. Never leave antifreeze lying around in an open container or in puddles on the floor; children and pets are attracted by its sweet smell and may drink it. Check with local authorities about disposing of used antifreeze. Many communities have collection centers which will see that antifreeze is disposed of safely. Never dump used antifreeze on the ground or pour it into drains.
Warning: The air conditioning system is under high pressure. Do not loosen any hose fittings or remove any components until the system has been discharged. Air conditioning refrigerant should be properly discharged into an EPA-approved recovery/ recycling unit by a dealer service department or an automotive air conditioning repair facility. Always wear eye protection when disconnecting air conditioning system fittings.
Warning: The engine must be completely cool before draining the cooling system.
Note: The manufacturer recommends removal of the entire instrument panel to remove the heater core as detailed in Body. This involves disconnecting numerous electrical connectors and there is the potential for breakage of delicate plastic tabs on various components. This is a difficult job for the average home mechanic.
1. Have the air conditioning system dis- charged by a licensed automotive air conditioning technician.
2. Disconnect the cable from the negative terminal of the battery (see Engine electrical systems).
3. Wait until the engine is completely cool, then drain the cooling system (see Tune-up and routine maintenance). Remove the cowl assembly (see Body).
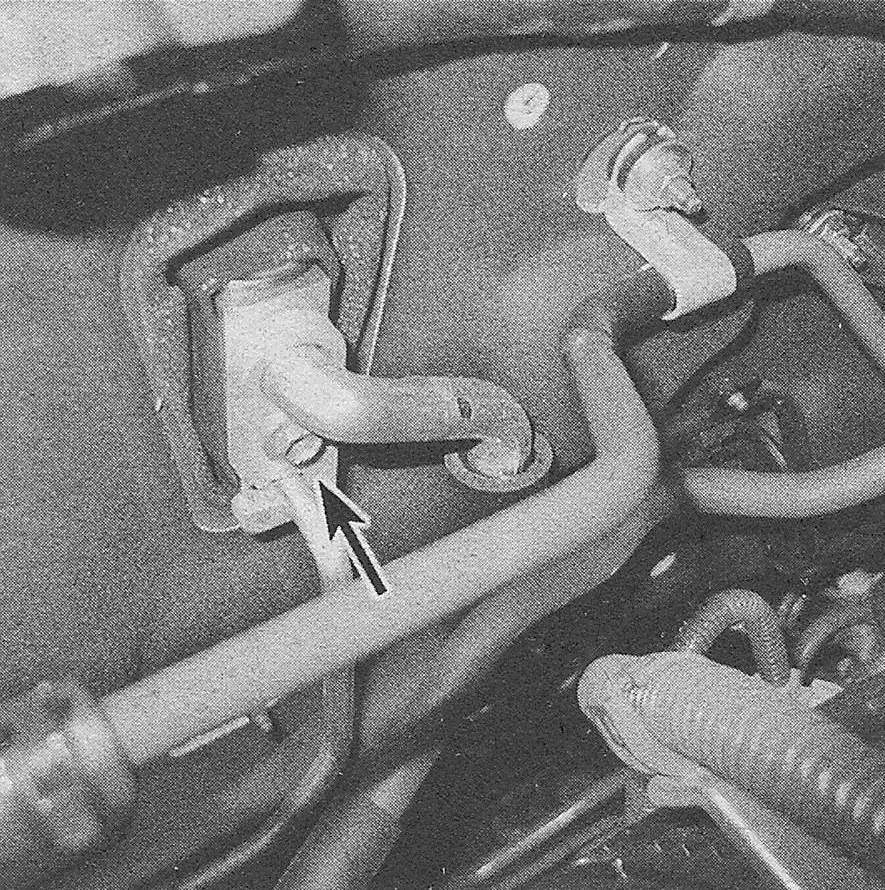
4. Working in the engine compartment, disconnect the heater hoses at the firewall (see illustration). Push the rubber seal
around the hoses toward the inside of the vehicle, releasing it from the sheet metal. Plug the heater core pipes to prevent leakage when it is removed.
11.4 Remove the heater hose spring clamps and heater hoses

Note: The manufacturer recommends removing the complete cowl assembly to have better access to the hoses and fasteners at the firewall (see Body).
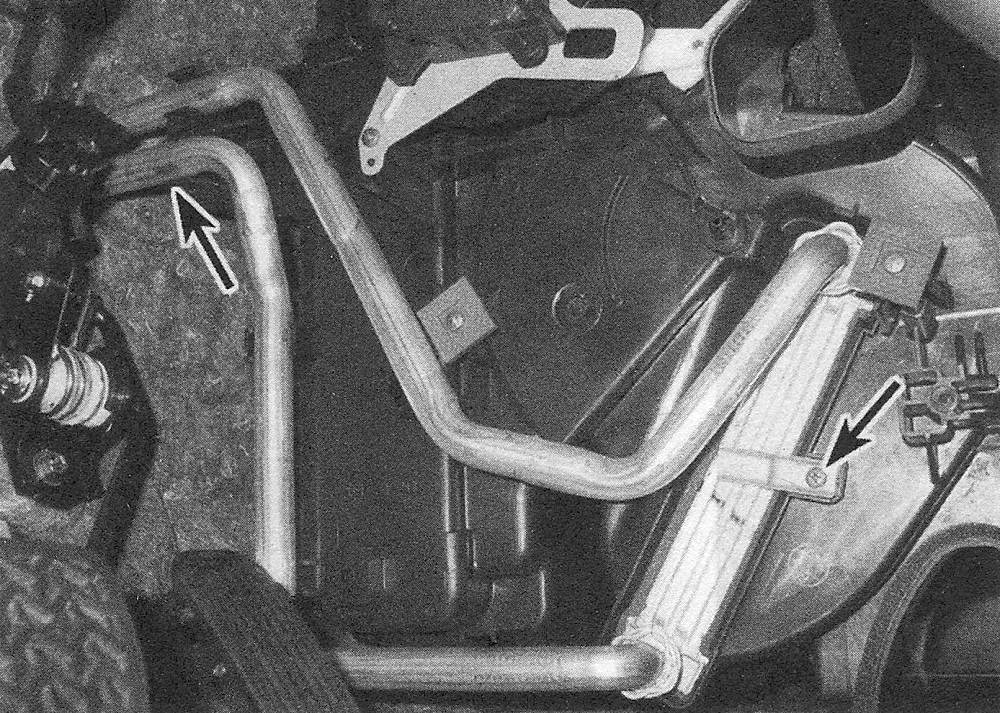
5. Disconnect the refrigerant lines from the evaporator lines at the firewall (see illustration).
11.5 Remove the refrigerant line-to- evaporator core mounting bolt and separate the line
6. Remove the instrument panel (see Body).
7. Remove the Powertrain Control Module (PCM) (see Emissions and engine control systems) and the mounting bracket.
8. Remove the air conditioning amplifier module.
9. Working on the left side of the interior, remove the left side defroster nozzle duct and the heater-to-register duct.
10. Working on the right side of the interior, remove the right-side defroster nozzle duct and the heater-to-register duct.
11. Remove the left side floor duct and the right-side floor duct.
12. Pull the carpet back and remove the carpet mounting bracket and the reinforcement brace mounting brackets at the center console.
13. Remove the center console duct box and the left and right-side air ducts.
14. Detach the steering column from the reinforcement brace (see Suspension and steering systems).
15. Remove the fuse and relay box from the left side of the interior.
16. Release the wiring harness clamps and mounting bolts and carefully separate the harness from the reinforcement brace.
17. Remove the reinforcement brace mounting nuts and mounting bolts.
18. Lift the reinforcement brace and the air conditioning/heater assembly from the passenger compartment.
Caution: Work slowly and carefully to avoid breaking any plastic components during removal.
19. Remove the mounting bolt from the heater core inlet and outlet pipe bracket (see illustration).
11.19 Release the clip near the firewall and remove the screw on the retaining strap at the housing
20. Slide the heater core from the air conditioning/heater housing (see illustration).
11.20 Carefully slide the heater core from the housing

21. Installation is the reverse order of removal.
22. Refill the cooling system (see Tune-up and routine maintenance), reconnect the battery and run the engine. Check for leaks and proper system operation.
23. Have the air conditioning system recharged by the shop that discharged it.