Flywheel / driveplate — removal and installation
Removal
1. Remove the transaxle (see Chapter Manual transaxle Automatic transaxle). If it’s leaking, now would be a very good time to replace the front pump seal/O-ring (automatic transaxle only).
2. Remove the pressure plate and clutch disc (see Clutch and driveaxles) (manual transaxle equipped vehicles). Now is a good time to check/replace the clutch components.
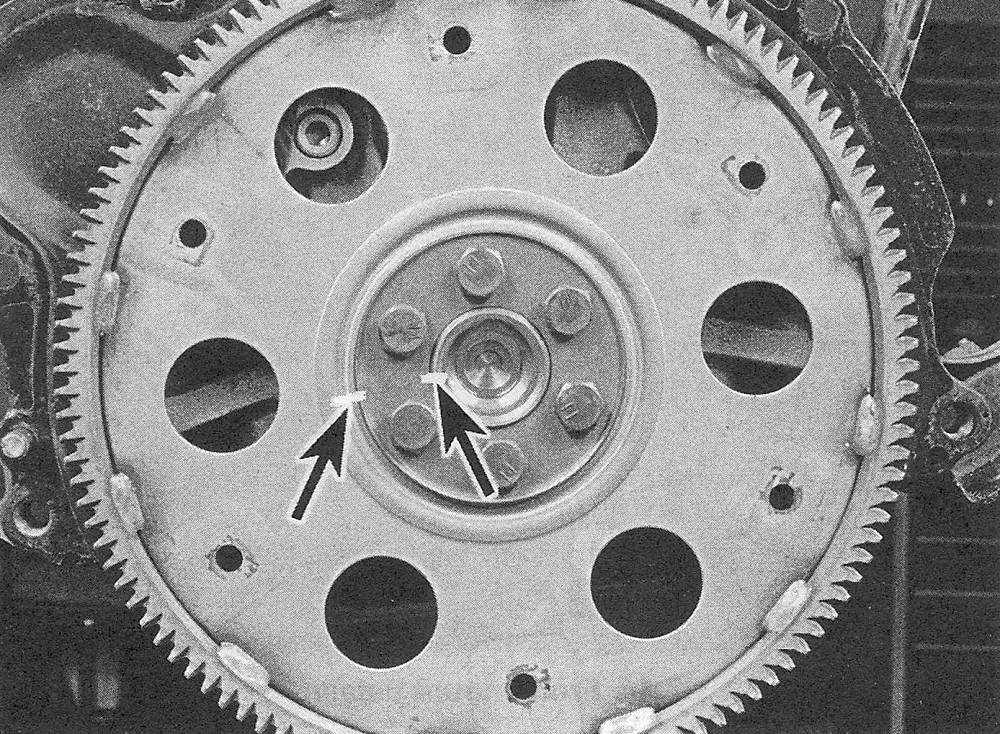
3. Use a center punch or paint to make alignment marks on the flywheel/drive plate and crankshaft to ensure correct alignment during reinstallation (see illustration).
15.3 Mark the flywheel/drive plate and the crankshaft so they can be reassembled in the same relative positions — most models will have eight flywheel bolts
4. Remove the bolts that secure the fly- wheel/drive plate to the crankshaft. If the crankshaft turns, wedge a screwdriver in the ring gear teeth to jam the flywheel.
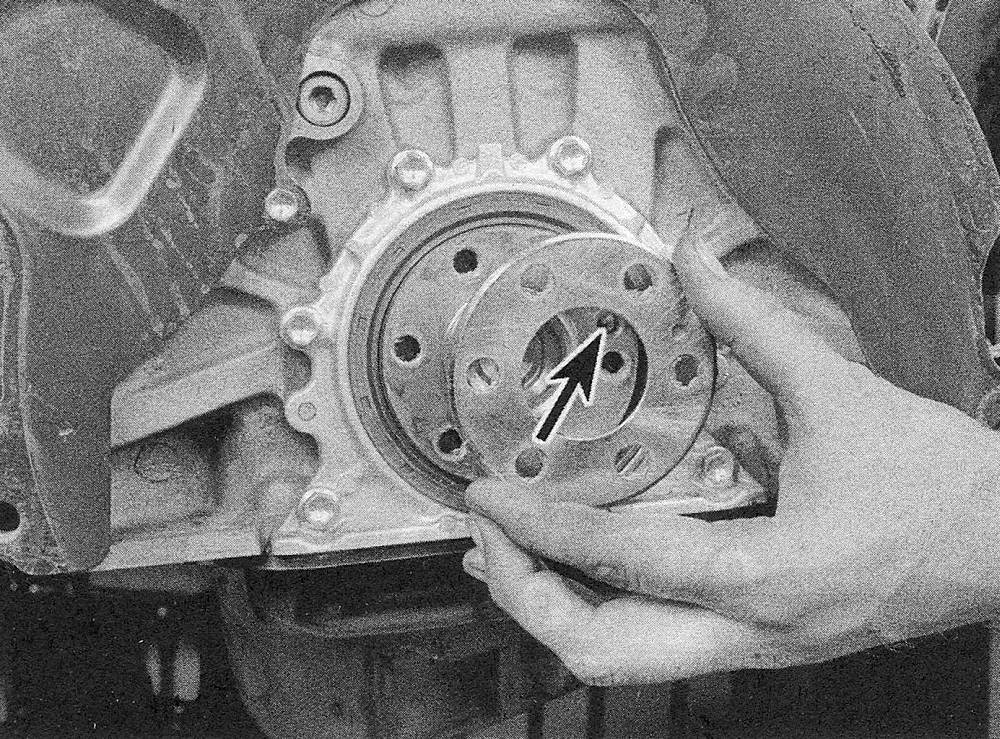
5. Remove the flywheel/drive plate from the crankshaft. Since the flywheel is fairly heavy, be sure to support it while removing the last bolt. Automatic transaxle equipped vehicles have spacers on both sides of the drive plate (see illustration). Keep them with the drive plate.
15.5 On vehicles with an automatic transaxle, there is a spacer plate on each side of the drive plate; when installing, line up the spacers with the locating pin (arrow)
Installation
6. Clean the flywheel to remove grease and oil. Inspect the surface for cracks, rivet grooves, burned areas and score marks. Light scoring can be removed with emery cloth. Check for cracked and broken ring gear teeth. Lay the flywheel on a flat surface and use a straightedge to check for warpage.
7. Clean and inspect the mating surfaces of the flywheel/drive plate and the crankshaft. If the crankshaft rear seal is leaking, replace it before reinstalling the flywheel/drive plate.
8. Position the flywheel/drive plate against the crankshaft. Be sure to align the marks made during removal. Note that some engines have an alignment dowel or staggered bolt holes to ensure correct installation. Before installing the bolts, apply thread locking compound to the threads.
9. Wedge a screwdriver in the ring gear teeth to keep the flywheel/drive plate from turning and tighten the bolts to the torque listed in this Chapter’s Specifications. Follow a crisscross pattern and work up to the final torque in three or four steps.
10. The remainder of installation is the reverse of the removal procedure.