Steering, suspension and driveaxle boot check
Steering check
Note: For detailed illustrations of the steering and suspension components, refer to Suspension and steering systems.
1. With the vehicle on the ground and the front wheels pointed straight ahead, rock the steering wheel gently back and forth. If free play is excessive, a front wheel bearing, main shaft yoke, intermediate shaft yoke, lower arm ball joint or steering system joint is worn or the steering gear is out of adjustment or broken. Steering wheel free play is the amount of travel (measured at the rim of the steering wheel) between the initial steering input and the point at which the front wheels begin to turn (indicated by slight resistance). Refer to Chapter Suspension and steering systems for the appropriate repair procedure.
2. Other symptoms, such as excessive vehicle body movement over rough roads, swaying (leaning) around corners and binding as the steering wheel is turned, may indicate faulty steering and/or suspension components.
Suspension check
3. Check the shock absorbers by pushing down and releasing the vehicle several times at each corner. If the vehicle does not come back to a level position within one or two bounces, the shocks/struts are worn and must be replaced. When bouncing the vehicle up and down, listen for squeaks and noises from the suspension components. Additional information on suspension components can be found in Chapter Suspension and steering systems.
4. Raise the vehicle with a floor jack and support it securely on jack stands. See Jacking and towing at the front of this book for the proper jacking points.
5. Check the tires for irregular wear pat- terns and proper inflation. See Tire and tire pressure checks for information regarding tire wear and Chapter 10 for the wheel bearing replacement procedures.
6. Inspect the universal joint between the steering shaft and the steering gear housing. Check the steering gear housing for lubricant leakage or oozing. Make sure that the dust seals and boots are not damaged and that the boot camps are not loose. Check the steering linkage for looseness or damage. Check the tie-rod ends for excessive play. Look for loose bolts, broken or disconnected parts and deteriorated rubber bushings on all suspension and steering components. While an assistant turns the steering wheel from side to side, check the steering components for free movement, chafing and binding. If the steering components do not seem to be reacting with the movement of the steering wheel, try to determine where the slack is located.
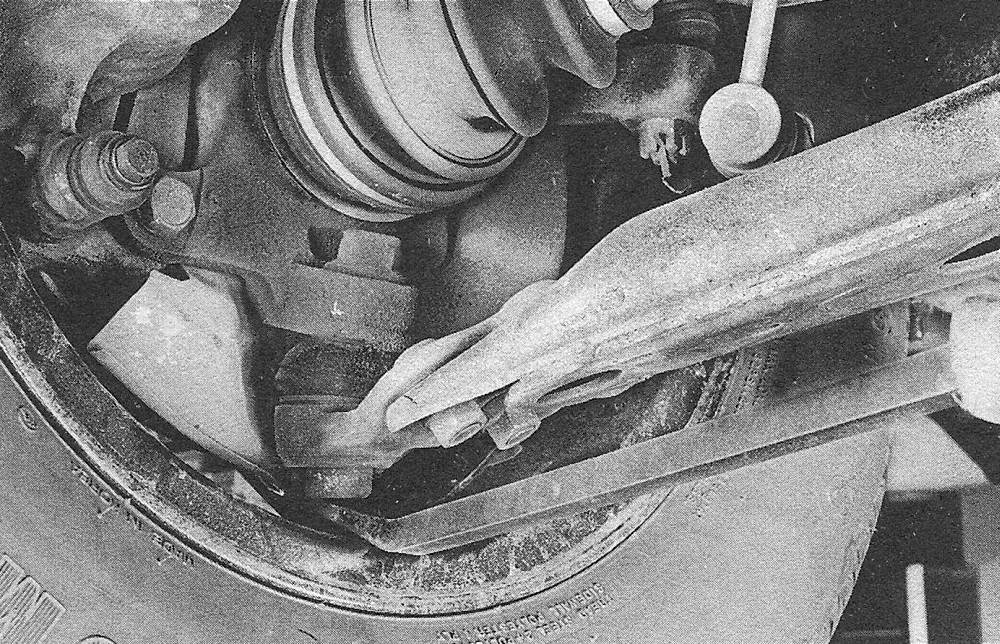
7. Check the ball joints for wear by trying to move each lower arm up and down with a prybar (see illustration) to ensure that its ball joint has no play. If any ball joint does have play, replace it. See Chapter Suspension and steering systems for the ball joint replacement procedure.
14.7 To check the ball joints, attempt to move the lower arm up and down with a prybar to make sure there is no play in the ball joint (if there is, replace it)
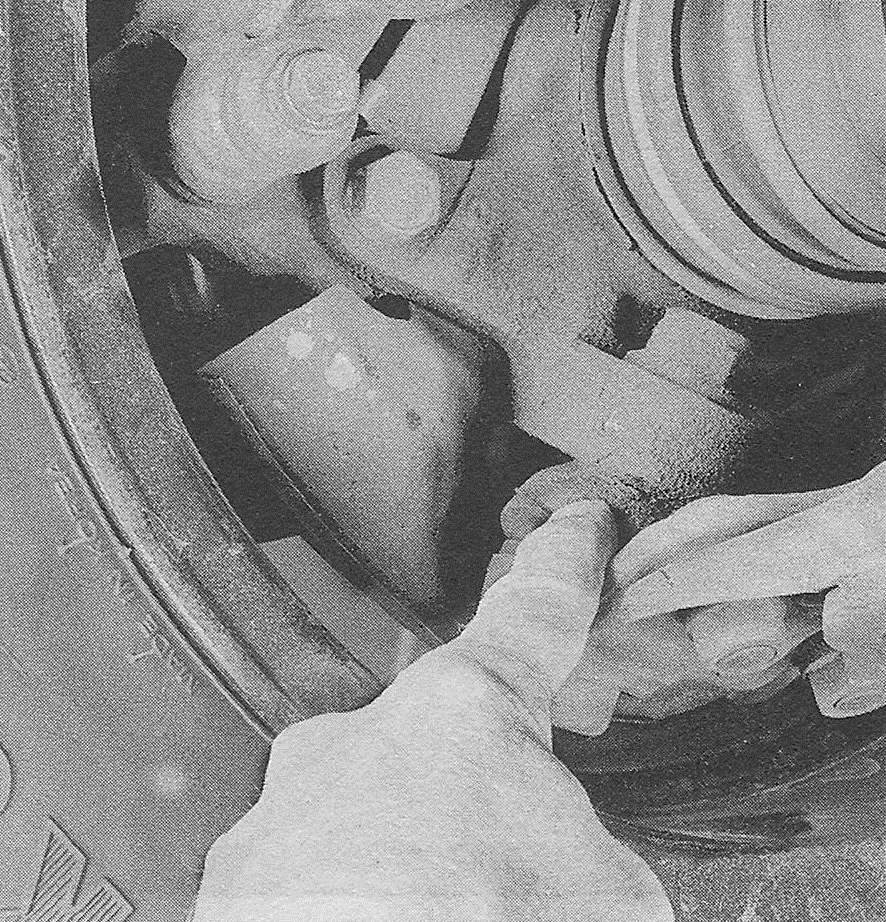
8. Inspect the ball joint boots for dam- age and leaking grease (see illustration). Replace the ball joints with new ones if they are damaged (see Suspension and steering systems).
14.8 Push on the ballpoint boot to check for tears and grease leaks
Drive axle boot check
9. The drive axle boots are very important because they prevent dirt, water and foreign material from entering and damaging the constant velocity (CV) joints.
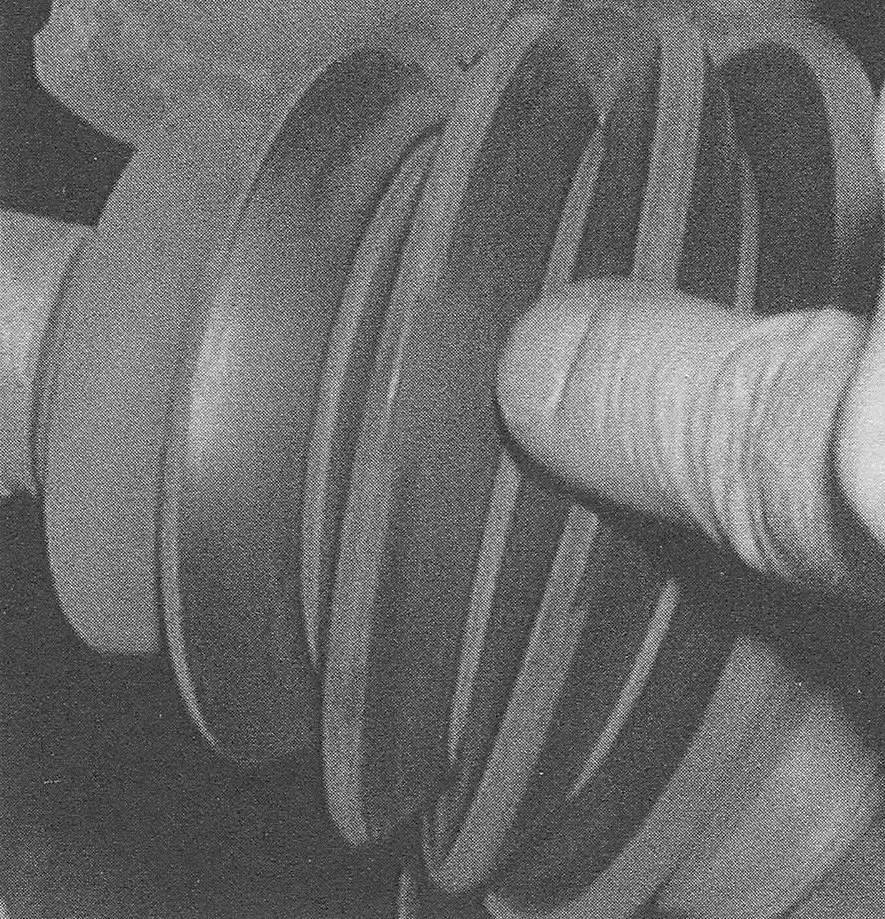
10. Inspect the boots for tears and cracks as well as loose clamps (see illustration). If there is any evidence of cracks or leaking lubricant, they must be replaced as described in Chapter Clutch and driveaxles.
14.10 Flex the drive axle boots by hand to check for tears, cracks and leaking grease